Scanning Your Code
In this section, you will learn how to view source files in
the Source Files view and how to perform a source code scan.
-
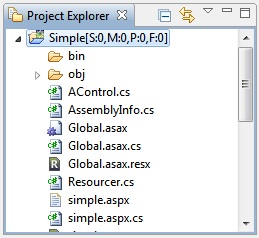
In the Project Explorer view (upper-left corner of the
main window), expand the project root by clicking the small
arrow directly to the left of it. If you've been following
along with the tutorial so far, the Project Root will be
named Simple. This view lets you browse the contents of
the source file path you specified for your Globalyzer project.
-
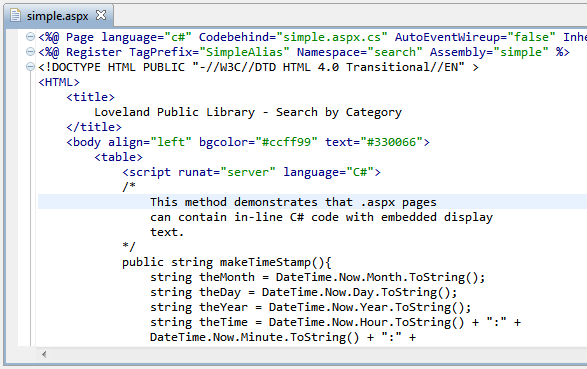
When you double-click on a file in the Project Explorer view, the editor that is associated with the file extension is used to open and display the file; if there is no editor-file association, then the default text editor will be used to display the file in the Source view.
Sometimes the associated editor results in launching an external application to view the file.
To override the associated editor, you
can right-click on the file and select Open With=>Text Editor or one of the other
choices. To permanently associate a file extension with a specific editor, select
Window=>Preferences=>General=>Editors=>File Associations and add the file
extension and its editor. The following screenshot shows aspx files associated
with the Simple Xml editor.

Double-click on the file simple.aspx to open the file using its associated editor.
Note: You may want to use a more custom editor to view and edit source files. To install a new Eclipse editor plugin, select
Help=>Install New Software .... Once installed,
you'll will be able to associate a file extension with the new Editor using the
Window=>Preferences=>General=>Editors=>File Associations page.
-
To close the file, do one of the following:
-
Click the x next to the file name on the tab
-
Select File=>Close
-
Click somewhere within the source file so that it is selected
and then press the shortcut key Ctrl-W
-
To scan the source code for internationalization
issues, do one of the following:
-
Click the Single Scan button  near the top left of the screen.
-
Right-click on the project in the Project Explorer view and select
the Globalyzer=>Scan Selected Files menu item.
-
Select Scan=>Single Scan from the menu bar.
-
Press the shortcut key Ctrl-6
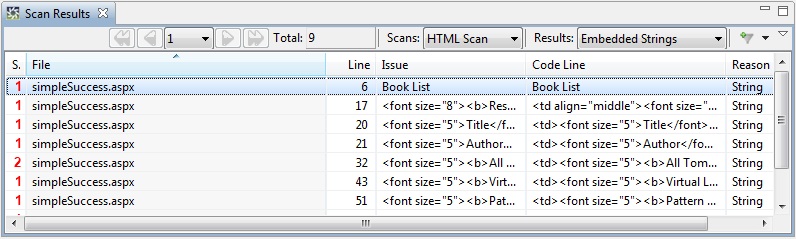
In the next lessons, you will use the Scan Results table to
find and fix internationalization issues in the source code.

 
|
