Externalizing Multiple Strings
In this lesson, you will use the Batch Externalization
feature to externalize multiple strings at once.
At this point in the tutorial you have narrowed your issues list
down to 12 Embedded Strings. Rather than externalizing the
remaining strings one at a time, you can use the Batch
Externalization feature to externalize them all at once.
-
Select all of the remaining Embedded Strings in the Scan
Results table. To do this, select an embedded string then
use the shortcut Control + A. Alternatively,
you can click on the top embedded string,
scroll down to the bottom of the list of embedded strings,
then hold down the Shift key and click on the bottom Embedded
String row in the table. All of the Embedded Strings should now
be selected.
-
Prior to performing the next step be sure to save any altered source files.
Right-click over the table and select Fix
Code=>Externalize Selected Scan Results or click the Batch
Externalization button  . .
-
The Globalyzer Externalize Strings dialog
appears:

The Externalize Strings dialog contains a multitude of
different features:
-
Like in the Scan Results view, clicking on an
issue in the Externalize Strings dialog will highlight the text of
the file it is contained in.
-
The dialog also presents the options to ignore
specific issues via the Ignore button.
-
You can also choose to internationalize one of the listed strings. This
removes the Ignore comment if the issue was previously ignored, and sets
the status of the issue to Active. Otherwise, no action is performed.
-
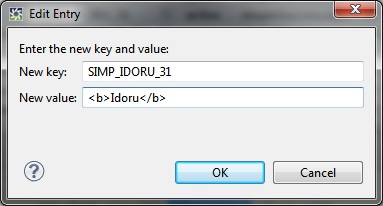
Finally, you can Edit any of the strings that you are going to
externalize. Clicking the Edit button will bring up an Edit
Entry dialog. Within the dialog, the New key field allows
you to change the key value for selected issue. You can also edit
the string itself with the New value field.
The Edit Entry dialogue:
-
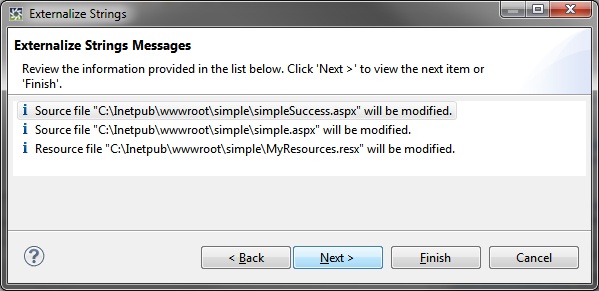
Within the Globalyzer Externalize Strings dialog, click Next.
You will now see the Externalize Strings Messages section of the
dialog. This dialogue will show you which source files are going to be
modified.
-
Click Next again.
You will now see the Externalize Strings Preview section of the
dialog. This section presents a final idea of what will be changed during
externalization. It also presents a final opportunity to reject any changes
you do not wish to make. If you do not wish to externalize a selected issue,
uncheck the checkbox to the issue's left. For this tutorial, leave all issues
checked.
-
Click Finish.
Globalyzer now externalizes all of the remaining strings. To confirm this
open the Console view next to the Scan Results view.
The Console should contain messages such as what is displayed below:

Just as in single string externalization, Globalyzer will
rescan the affected source files.
Note: Before performing Batch Externalizations, be
sure to check that each string is fully selected in the source
file (by double-clicking on the row in the Scan Results
table) and that it is a string that will require translation. If
necessary, you can select the text that you want to externalize
directly in the source file and then select Fix
Code=>Externalize String or click the Externalize Single
String button  . .
If you need to make a change to the text first, remember that you
can do so with the Edit option from within the Globalyzer
Externalize Strings dialog.
Note: If a string is several lines long,
Globalyzer will display an error and will not include the string
in the batch externalization process. To externalize these long
strings, use Single String Externalization, but be sure to check
that the entire string is selected in the source file before
clicking the Externalize selected String button.
In the next lesson, we will show how to externalize HTML Tag
Attribute strings that are detected by Globalyzer using a General
Pattern.

 
|
